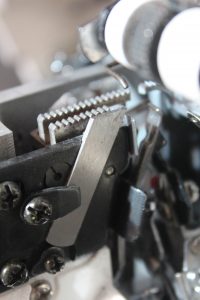
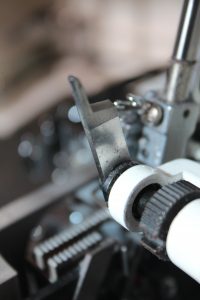
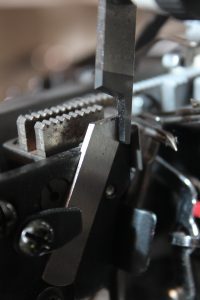
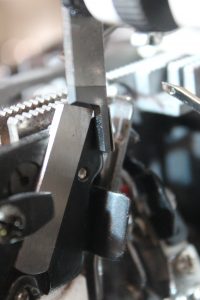
Whoops! A little late on this post – I wanted to make sure I got some good, quality photos so everyone could see what I was talking about.
All sergers have two blades that are used to cut the fabric as it feeds through the machine. These blades can be moved out of the way to make a coverlock stitch or rolled hem. There are machines that are similar to sergers without blades – these are typically labelled coverlock machines, as they are not capable of cutting the fabric.
How They Work
Serger blades work almost like a pair of scissors as the fabric is fed through. In most machines, the upper blade moves while the lower blade remains stationary. As the upper blade moves downward, the sharp edge rubs against the sharp edge of the lower blade. The fabric is pinched between these two blades and is cut.
The shaft that moves the blade is timed to ensure the fabric does not move through the machine as it is cut (this would cause the fabric to rip).
Inspecting Serger Blades


Just like your scissors, serger blades get dull over time and with use. Serger blades should never be sharpened. Typically, one blade will wear faster than the other, due to the hardening of the blades. Only one blade is hardened – this one will typically last about 3 times as long as the unhardened one. Hardened blades typically have a slightly darker edge.
It is fairly easy to tell when your serger blades need to be replaced – the cut edge of your fabric will be frayed and uneven! If the blades are extremely dull, it will not cut your fabric, but stretch, rip or shred it instead. You can replace both blades at the same time, or check both blades for wear and choose to only replace the worn one.
Signs of wear include spots on the blade that are uneven in appearance (shiny & dull, dark & light, etc), scratches, and nicks. If you are having trouble determining the dullness of your blades, we recommend replacing both to be on the safe side. Alternatively, you can feel for any nicks in a blade with your fingernail (gently, as they still may be sharp) or a credit card. Nicks will snag or cause the card to “pop” over the surface.
Replacing Serger Blades


Just like machine maintenance, always consult your user manual for instructions before changing the blades! You should also make a note of the position (top to bottom as well as left to right) and direction of both blades before removing them. Depending on the machine, you may have only one adjustable blade or two.
Lower serger blades should always be nearly flush with the surface of the needle plate. This ensures the fabric will feed smoothly to the blades and past them. The upper blade should be high enough to allow fabric to slide smoothly between the two blades, but should also be low enough to make a clean cut. To make a clean cut, the blades must overlap at least slightly (again, think like a pair of scissors).
Again, I was hoping to get this post up at 9 this morning, but better late than never!
Sarah